
The Seven Deadly Sins of Logic Pro
Apr 27, 2020I've been using Logic Pro since version 7, way back in 2006. Despite the evolution of Logic as a DAW, and it's greatly expanded array of synths, samplers and audio effects, the fundamentals remain the same.
It also has to be said, the mistakes I see new producers making in Logic Pro X today, are the same ones I was making over a decade ago.
So, here are the 7 Deadly Sins of Logic Pro...don't worry, I'm not going to make you go to Confession for any of these, I'm just going to give you solutions so you can work more efficiently!
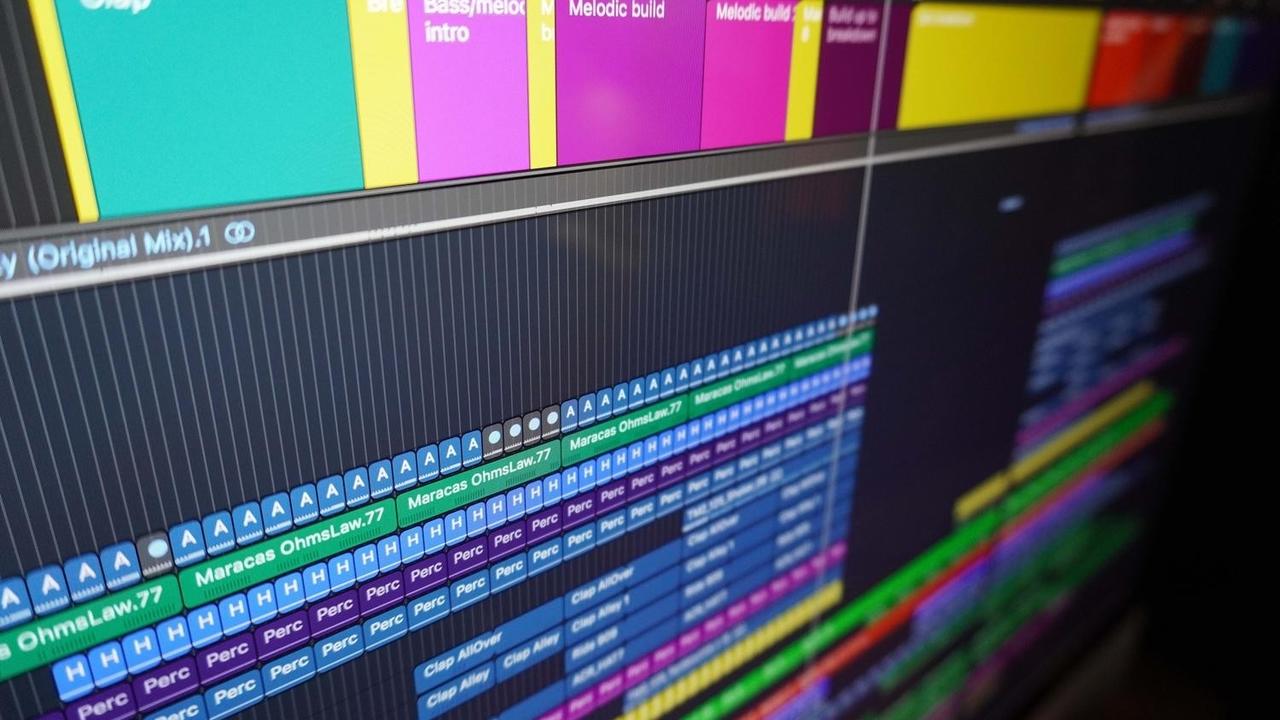
1. NOT ALIGNING CLIPS TO THE GRID

This is a fundamental task, yet frequently new Logic users don't get this right. No placing audio loops or MIDI clips on the Arrange Page's grid can lead to frustrating situations, that get worse the further into a production you get without correcting it.
This is mostly down to the 'Smart' mode in the Snap menu. It tries to place clips in a 'relative' position to the grid - so if you've placed it off the appropriate grid line, it will keep that position while you move it around and make copies. This means over time you get clips moving progressively further and further off the grid, causing a nightmarish scenario for keeping everything in time and automating.
Solution: Make sure the Snap mode is set to the appropriate time division (Bars, Beats or Division), and also have 'Absolute Position' ticked in the Snap Menu.
2. OVERLOOKING THE MARQUEE TOOL
Often, new and even more experienced Logic pro users struggle with session navigation, especially where placing the playhead is concerned. Many users find it really annoying to have to click on the ruler at the top of the Arrange window, and click to where they'd like to restart playback.
Solution: This is one of tons of uses for the Marquee Tool - easily the single most overlooked and underrated tool in the Logic Pro toolbox. Simply select it from the toolbox, and click anywhere on any channel you'd like to restart play back, and there you go!
Note: you have to click away from where you have initially in order to 'cancel' your selection

3. USING AUDIO EFFECTS AS INSERTS, NOT ON SEND & RETURN CHANNELS
This is a big one! It's possibly the most inefficient use of resources and CPU around for Logic users. Rather than using the way more effective Send and Aux Return channels to manage time - based effects like Reverb and Delay, a lot of Logic - based producers tend to use them on inserts, meaning multiple plugins doing the same thing over and over again. This is incredibly taxing on CPU, and means many laptops and even desktops can run out of processing before the end of the production process on a track. This leads to the dreaded 'System Overload' error coming up again and again.
It also doesn't sound as good as a single instance of a reverb or delay effect, doing the job of multiple instances, which is cleaner, less muddy and also easier to control in both production and mixdown phases
Solution: Simply use send and return channels more! Get in the habit of creating a bus on a track you need to add a reverb or delay to, and using it to send a copy of the track to the desired effect.

4. AUTOMATING TRACK VOLUME
This is a big one - when you automate the overall volume fader of a Track, you tend to lose control of it in the mixdown. It also makes it much harder to gain stage your productions properly, as automated volume faders will retain their automated values, and fight against any moves to the contrary.
Solution: If you need to automate the volume of an instrument / track, insert a Gain plugin, and automate that instead. This ensures you retain control of the overall fader, making it far easier to gain stage and manage levels throughout the production and mixdown phases. You can also use Trim Automation for this, but I personally find the Gain plugin solution far more elegant.

5. NOT LEARNING KEYBOARD SHORTCUTS
Many DAW users, not just Logic Pro ones, are far too dependent on using the mouse to navigate and execute their workflow. The truth is, it's one of the most inefficient ways of working.
Solution: Logic's true power shines in it's Key Commands - there's so much under the hood that Logic can do, that you can discover, and all it takes is going into one specific window - the Key Commands Menu!
Simply hit 'Option+k' (yep, I'm giving you a keyboard shortcut to a keyboard shortcuts menu - ironic, right?!?) and it'll bring up the Key Commands window. Here you can search for keyboard shortcuts, as well as assign your own.

6. RECORDING & MIXING TOO HOT
This is not unique to Logic, but it's worth mentioning in any '7 Deadly Sins' of Production list. Working too close to the peak level of 0.0 dBFS on the Stereo Out in Logic can deny your productions vital space and headroom, leading to clipping and distortion, which can severely compromise the quality of your finished tracks, and absolutely will become problematic in mixdown and mastering situations down the line.
Solution: Set up a template session where all of your faders start at around -6 or -8 on the faders. This will help you to begin the process of appropriately gain staging your productions in Logic Pro. You can do this by selecting File > Save As Template, and starting all new productions from that template.

7. NOT ASSIGNING MIDI CONTROLLERS FOR RECORDING AUTOMATION
Most automation I see and hear in Logic, as well as other DAWs tends to be linear, static, and a little lifeless, and doesn't add that 'X Factor'. It's one of the big reasons why tracks can come out sounding dry, and a little bit, well, boring!
Solution: Assign controls such as Filter Cutoffs on synths, Bus Send levels, ADSR envelopes etc, to the knobs on your MIDI controller. Simply click on the control you want to assign, and hit 'Command+L' - this will bring up the Controller Assignment window. Give the knob on your MIDI controller a turn, and deselect 'Learn' in the bottom of the Controller Assignment window. Now you can record your movements in Logic's automation modes, such as Touch or Latch.

WE'RE HERE TO HELP
I'm sure we've all probably committed at least one of these deadly sins in the past, and probably still do now from time to time.
This is what makes Logic Pro great once you get to know it - it's incredibly flexible, and can mould itself to your own unique way of working.
That can also mean it can be a little challenging to learn at the beginning - there is simply so many options for each action you want to take, that it can become confusing and somewhat overwhelming.
This Wednesday 29th April at 7pm UK, we start the Getting Started in Logic Pro Online Course - an in depth but simply delivered 8 week journey into the heart of one of the most powerful DAWs there is.
So if you'd like to get more from Logic Pro, would like to move to Logic form another DAW simply, or are a complete beginner just starting your journey into music production, we've got something for you.
This course is available for just £75, which is a steal for 16hrs of Live training on the MYT Website.
So why not take advantage and join us...you have to be quick through as there's only a few days left before we begin!
I can't wait to Get Started in Logic Pro with you
Big Love
Paul x
WE MAKE ARTISTS
Too many talented DJs & Producers can't get signed to the record labels they need to be to break through.
MYT uses in-depth Track Feedback, Live Masterclasses, Personal Coaching and Courses, to support our Community to become full time Electronic Music Artists
Stay connected with news and updates!
Join our mailing list to receive the latest news and updates from our team.
Don't worry, your information will not be shared.
We hate SPAM. We will never sell your information, for any reason.

