
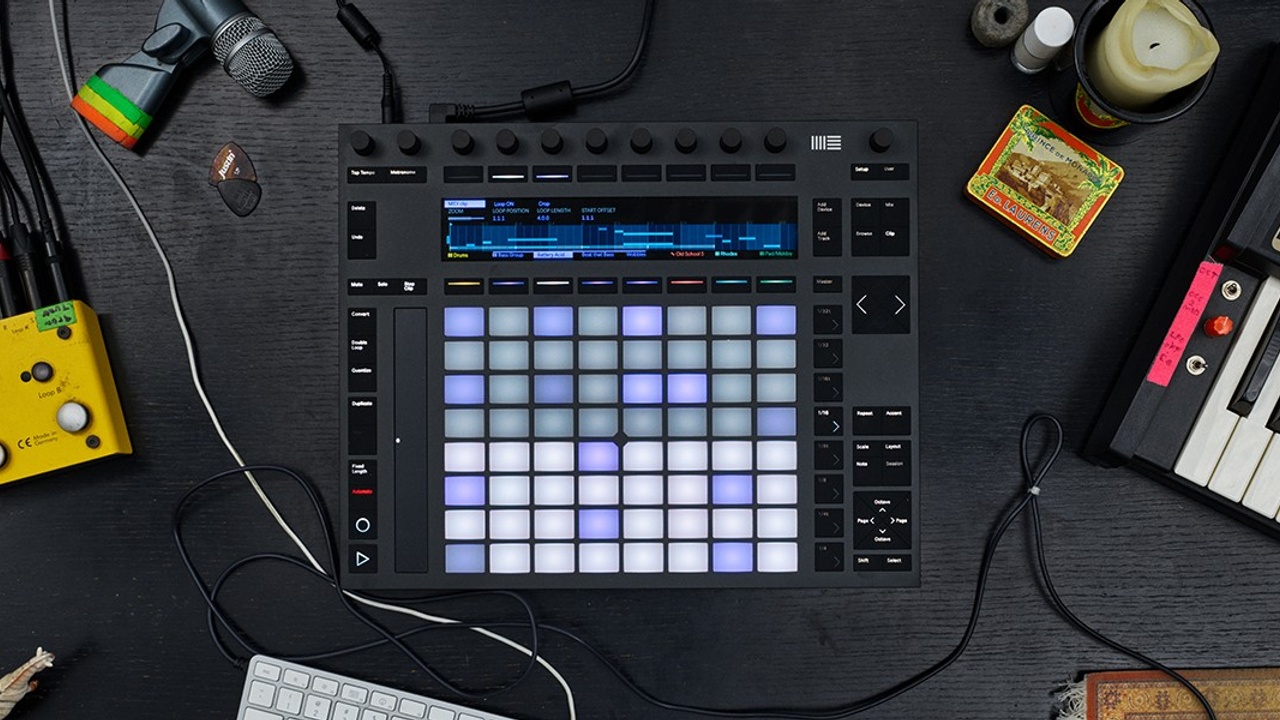
Ableton Push 2: Under The Hood (Top Five Tips)
Apr 20, 2022What are macros and how do I use them with Push?
You are probably familiar with the concept of macros in Ableton but if not then it is time to get familiar. Essentially macros allow you to assign multiple parameters to macro knobs providing swift access to the essential controls for your devices. The process of setting these up is simple and can be done by combining the Push control surface with keyboard shortcuts.
Firstly, add devices using the Add Device button on Push and browse through the Push on-screen menu using the appropriate encoder. You can then add multiple devices and group these using the cmd+G (Mac) shortcut. The eight macros will then become visible on the Push display and can be assigned to the parameters of any device within your chain by right-clicking on the parameter in Ableton then mapping it to Macro 1 and so on. This allows control of multiple devices, instruments and effect parameters from one location on the Push making live jamming and recording in automation a breeze. To add or reduce the number of macros (up to a maximum of sixteen) simply use the plus and minus icons that are on the left-hand side of the grouped devices in Ableton. If you want more macros you can view these via a second bank of eight macros selected using the two buttons above the left-hand side of the Push display.
To make your workflow even more efficient we recommend you colour code your macros in Ableton and name them by right-clicking each of them thus making navigation swift and intuitive. Finally, if you want create a master macro controller whereby parameters on multiple tracks and even returns are available you can use a nifty MaxForLive device called Map8. Insert Map8 on to a blank midi channel and map away to allow you to control these all from one place. This opens up the possibility of jamming in automation for entire compositions on the fly. Macros are an essential part of getting the best out of Ableton and are an absolute game changer when it comes to Push workflow.

How do I capture and record performances live on Push 2?
Live users were over the moon with the well-documented introduction of the new capture feature in Ableton Live 11. This allowed users to retrieve performances even when the record button had not been activated and was one of the highlights of Ableton’s latest incarnation. However, less well known is that same feature can be accessed via the Push controller allowing those moments of inspiration whilst noodling to be captured with literally the push (no pun intended) of a button. Simply hold down the Record button on the Push and then the New button to generate a new clip containing all the information from your performance. Brilliant for regaining those moments of magic that previously seemed to disappear into the ether.
How can I make using Push 2 faster and easier?
Another hidden feature of the Push 2 is the ability to assign different colours on a per pad basis. To initiate this mode, you hold down the Shift key and tap one of the pads down whilst in the Drum Rack. Watch and behold as your Push pads light up around the edges like a multi-coloured halo. Why is this useful you may be asking? Well because the colours are replicated on the notes in the Push display (when in note mode) allowing you to visually differentiate between different parts not only on the pads and step sequencer but also in the clips themselves. Amen.

How do I use the melodic step sequencer on Push 2?
A quick tip for lasering in on just what you need to work on when using the thirty-two note melodic step sequencer function in Ableton, is to set the loop focus by holding down the layout key. This means that the pads are split in half and the bottom half of the Push becomes a page selector whilst the top pads are the actual sequencer. You can then select a page (which is effectively your loop length) by selecting one of the illuminated pads at the bottom whilst keeping the layout key depressed. If you want the full length of the thirty-two notes sequence to play through then select the first pad on the left and hold it down, then press the final pad the right to let the full loop play through. This function works in the same fashion for the sixty-four note melodic sequencer but the page/loop focus selection is accessed via the pads across the top of the Push rather than at the bottom.

How do I make better drums using Push 2?
If you are finding your drum programming a little static and want to add more variation there are a number of ways you can go about adding a more organic feel to our patterns. Firstly, when in step sequencer mode you can hold down a pad or multiple pads on different steps which focuses the Push screen in on that step or section. You can then nudge the steps individually or as a group of notes slightly before or after the beat to add swing, groove and a less uniform feel. Another great tip for adding swing to hi-hats is to use the note repeat button to quickly dial in sixteenth notes and add various amounts of pressure to the depressed pad to add volume automation. Depress the hat pad whilst playing back and then adjust the swing encoder to taste to lock in a groove. Great for those syncopated old school techno and house hats.
What solutions does MYT offer?
That concludes our top five under the hood tips for Push, hopefully, they will enhance your workflow and make using Ableton an even more fluid experience. Push is a multi-layered machine and offers such deep control of Ableton that this really is just a quick dip into the controller’s capabilities. To take an even deeper dive into the world of Push and place this powerful instrument at the core of your workflow, check out MYT’s Push 2 course which is comprehensive guide to utilising Push to its full potential alongside the whole MYT AAA offering.
WE MAKE ARTISTS
Too many talented DJs & Producers can't get signed to the record labels they need to be to break through.
MYT uses in-depth Track Feedback, Live Masterclasses, Personal Coaching and Courses, to support our Community to become full time Electronic Music Artists
Stay connected with news and updates!
Join our mailing list to receive the latest news and updates from our team.
Don't worry, your information will not be shared.
We hate SPAM. We will never sell your information, for any reason.

